Foundation only
This module prepares you to begin approved EMT education. It does not provide certification, course credit, local protocols, medical direction, or authorization to perform patient care.
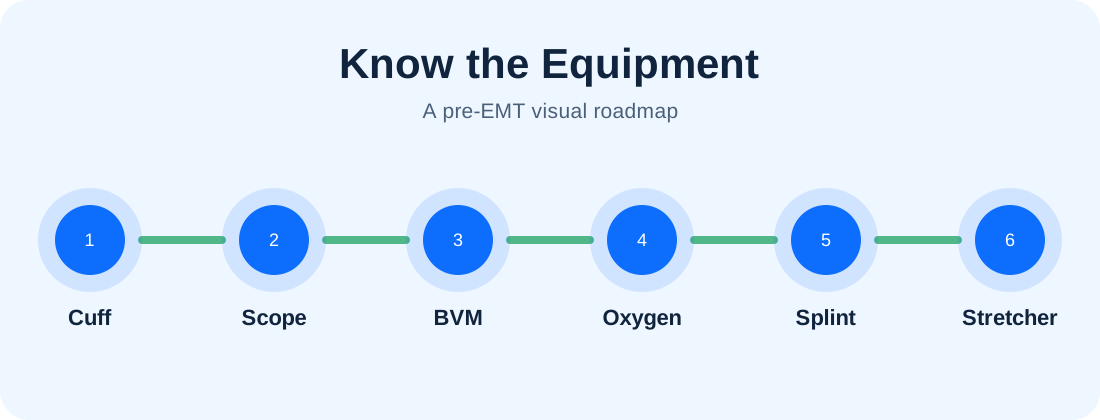
Learning objectives
- Explain the central concepts in plain language.
- Recognize common terms, observations, or equipment connected to the topic.
- Identify what must be learned later from an approved instructor.
- Complete the guided practice station, applied activity, and lesson-specific knowledge check.
1. Assessment tools
Recognize a stethoscope, manual blood pressure cuff, pulse oximeter, glucose meter, thermometer, penlight, watch or timer, and trauma shears. Learn what each tool measures or supports, the parts that commonly fail, and how contamination is prevented. Wait for your school’s supply list before buying.
2. Airway and oxygen tools
Learn the appearance and purpose of oxygen cylinders, regulators, tubing, nasal cannulas, nonrebreather masks, BVMs, suction devices, OPAs, NPAs, and nebulizer setups. Oxygen is a medication and compressed cylinders are hazards; use only under approved training and local policy.
3. Trauma and bleeding equipment
Recognize gauze, pressure dressings, tourniquets, hemostatic dressings where used, splints, cervical collars, pelvic binders, scoop stretchers, transfer sheets, and immobilization devices used locally. Names and designs vary. Do not practice invasive or high-risk procedures without qualified supervision.
4. Patient movement equipment
Ambulance stretchers, stair chairs, scoop stretchers, carry sheets, and transfer devices can injure patients and providers when used poorly. Before school, learn their general purpose. During class and agency orientation, learn locks, weight limits, commands, body mechanics, and team roles.
5. Ambulance organization
Equipment placement differs by agency. Build the habit of checking airway, oxygen, trauma, pediatric, PPE, monitoring, medications, linens, and movement equipment at the beginning of a shift. Knowing where items are located reduces delay and prevents opening several compartments during a stressful call.
Put the lesson into practice
Open the equipment flashcards and identify ten items by name, purpose, and category. Do not practice invasive procedures.
Check your understanding
This is a readiness check, not a certification exam.
Helpful links and practice tools
Pre-EMT Equipment Guide
Open tool →Equipment Flashcards
Open tool →Mark this module complete when ready
You should be able to summarize the lesson without reading it word-for-word and identify at least one area to revisit.