Foundation only
This module prepares you to begin approved EMT education. It does not provide certification, course credit, local protocols, medical direction, or authorization to perform patient care.
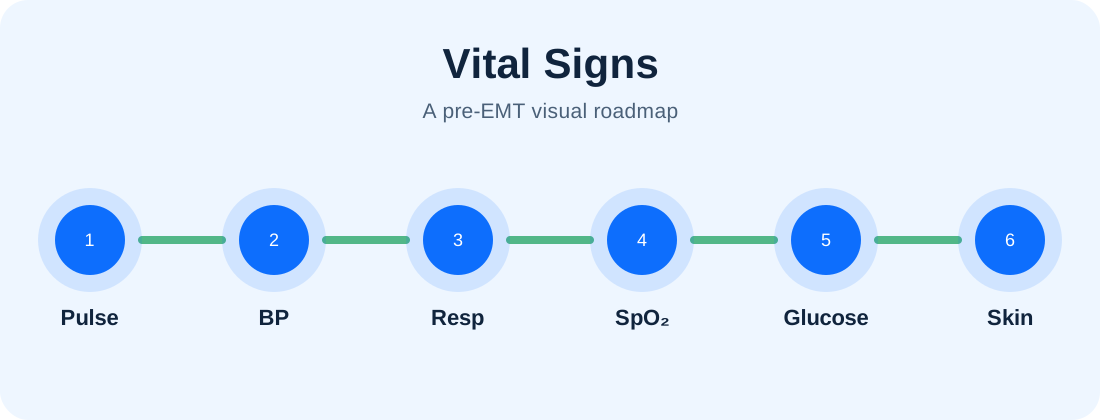
Learning objectives
- Perform the preparation, positioning, measurement, verification, and documentation sequence for each vital sign.
- Recognize common technique errors before they create a misleading result.
- Use the matching simulator immediately after learning each skill.
- Document a complete objective vital-sign set and identify meaningful trends.
- Know which skills require approved equipment, instructor supervision, or local procedure.
Vital signs are a hands-on assessment skill
Numbers matter only when the technique is reliable and the result is connected to the patient. In this module, every vital sign follows the same field-ready pattern:
Practice boundary: Use the simulators for all skills. Practice only noninvasive observation with a willing adult. Blood glucose, painful stimuli, and patient-care procedures belong in approved instruction with appropriate PPE, equipment, and supervision.
Complete eight guided vital-sign skill labs
Do not simply read the steps. Click through the technique, solve the common-error challenge, open the simulator, and record one objective finding.
Manual blood pressure
Place the cuff correctly, control inflation and deflation, and identify systolic and diastolic pressure.
Click each step as you work through it
The cuff is over a sweatshirt and the unsupported arm hangs below heart level. What is the best correction?
Choose the best answer.
Pulse assessment
Find a pulse and describe rate, rhythm, strength, location, and patient context—not rate alone.
Click each step as you work through it
You count 18 beats in 15 seconds, but the rhythm feels irregular. What should you do next?
Choose the best answer.
Respiratory assessment
Count respirations without changing the patient’s breathing and describe rate, rhythm, depth, effort, speech, and sounds.
Click each step as you work through it
A student tells the patient, “I am counting your breathing now,” and the patient begins breathing more slowly. What was the main error?
Choose the best answer.
Pulse oximetry
Obtain a stable reading, judge signal reliability, and interpret SpO₂ with breathing, perfusion, and mental status.
Click each step as you work through it
The oximeter shows 82%, the pulse display jumps between 40 and 170, and the patient’s cold hand is shaking. What is the best first interpretation?
Choose the best answer.
Skin signs and perfusion clues
Describe color, temperature, and moisture objectively and connect the findings to the whole patient.
Click each step as you work through it
Which entry is the most objective?
Choose the best answer.
Blood glucose assessment
Understand the supervised glucometer workflow and connect the result to mental status and the patient presentation.
Click each step as you work through it
A confused patient has a glucose of 104 mg/dL. What is the best conclusion?
Choose the best answer.
Pupils, AVPU, and orientation
Describe pupil findings and establish a repeatable mental-status baseline without jumping directly to a diagnosis.
Click each step as you work through it
A patient knows their name and location but cannot state the month or what happened. What is the best documentation?
Choose the best answer.
Temperature measurement
Use a route-aware measurement process and document the value, unit, device or route, time, and context.
Click each step as you work through it
Which documentation is most useful?
Choose the best answer.
Reassessment and trends
A complete set is a baseline, not a finish line. Repeat vital signs after an intervention, a patient change, or according to local expectations. Compare the new findings with the earlier set and describe the direction of change.
Which trend needs the fastest reassessment?
Select the most concerning trend.
Build and report a complete vital-sign set
Generate a patient, review the provided findings, decide which result needs confirmation, and create an objective charting line.
Patient presentation
Loading patient…
Complete the three fields, then check your decisions.
Confirm the skills you just practiced
The main learning happens in the eight skill labs. Use this check to identify any technique you should repeat.
Technique references and course authority
The skill labs reinforce common adult measurement principles such as correct cuff fit, arm support near heart level, using two fingers for a radial pulse, waiting for a stable pulse-ox signal, and documenting measurement context. Your approved EMT instructor, equipment manufacturer, medical direction, and local procedure remain the final authority.
Helpful links and practice tools
Mark this module complete when ready
You should be able to summarize the lesson without reading it word-for-word and identify at least one area to revisit.